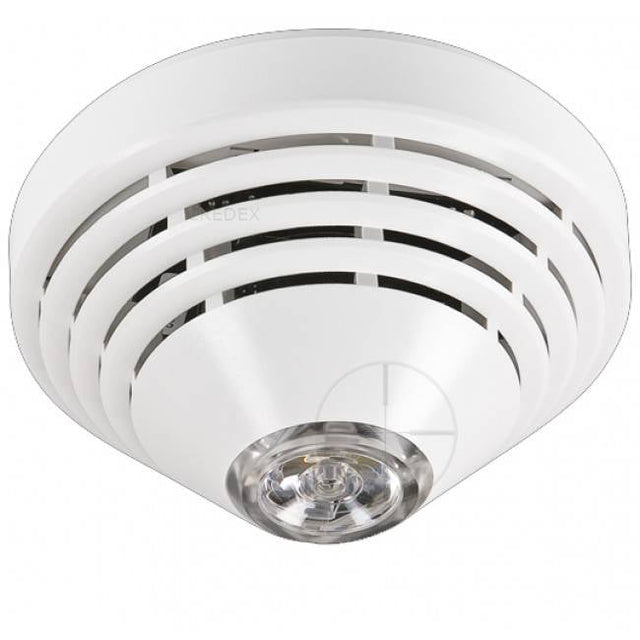
JA-80S
There are no products in these categories. Shop on.

Service explanation JA-80S
1 Installation

Installation should only be done by a certified technician approved by an authorised distributor.
The detector is usually mounted on the ceiling, at least 60cm away from a wall. It can protect an area of up to 50m³. Install at least 2 smoke detectors in a corridor longer than 9 metres, one on each side.
Prevent installation in areas where:
- There is no natural air circulation (wall recesses, corners, ridge of
a roof)
- Areas with dust, cigarette smoke or steam.
- Rapid air changes such as fans, exit of air conditioning, or high-rise heaters.
Avoid placement above cookers in kitchens where steam, smoke, and oil vapour can reduce the operation of the smoke detector. Avoid placement near metal objects that may block the radio signal.
Warning: Most false alarms come from poor positioning of the smoke detector.
Installation:
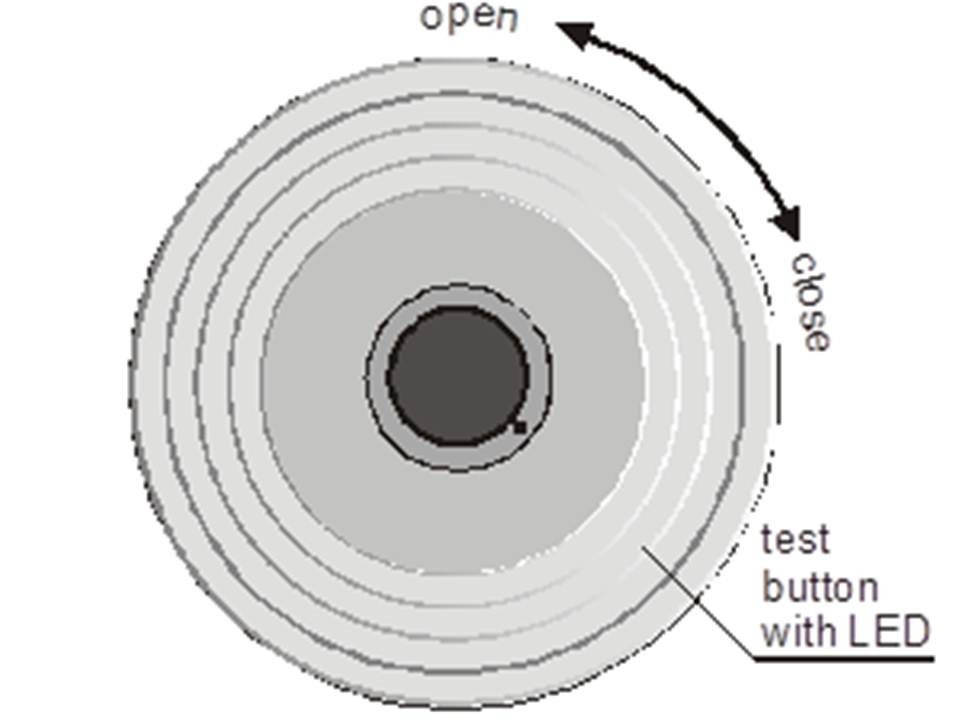
1. Open the detector (rotate the back of the housing)
2. Mount the back in the desired location.
3. Do not insert the battery yet and leave the housing open. Follow the teach-in instructions of the central or universal receiver.
4. Basics of teach-in are
1. Enter teach-in mode in the central unit by pressing "1" on the control panel in service mode.
2. Insert the battery in the detector. The detector will teach itself to the central unit and will do a self-test. (20 sec) This should be done in a smoke-free room with clean air with a temperature of about +20°C.
3. Exit teach-in mode by pressing "#".
To teach-in the detector after the battery has been inserted, first remove the battery and press the test button to rid the detector of residual charge and prepare the detector for teach-in.
4. After closing the detector, check that the 2 halves of the housing are firmly attached to each other.
After installing the battery, the detector will take one minute to stabilise, during the stabilisation, the detector's light is on continuously.
2 Jumpers
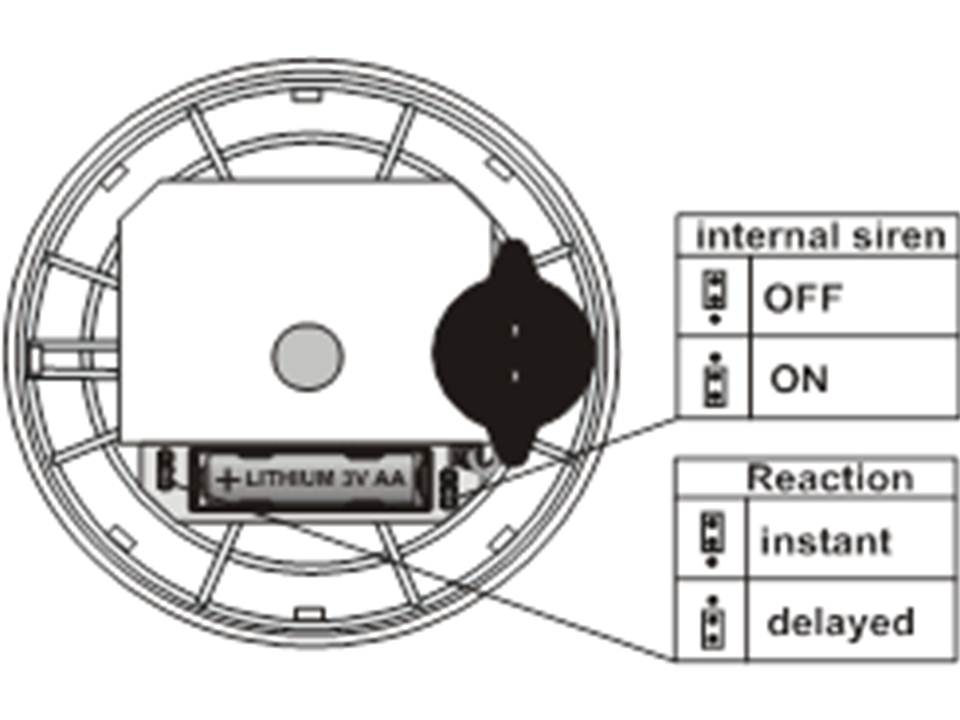
SIREN ON/OFF (Siren on/off) Allows the internal siren to be switched off (OFF = disabled)
FIRE/INST (fire/direct) Selects what the natural response of the detector in the control centre is.
Jumper in position FIRE: The control centre responds as a fire alarm, regardless of whether the system is on or off.
Jumper in position INST: The control centre responds with a fire alarm only when the system is on. This setting is useful if the user wishes, for example, that smoking is allowed in a room or the fireplace is on or while the system is off and therefore authorised persons are present.
Warning: In the INST position of the jumper, if the system is off, the detector will not respond to smoke. The FIRE/INST jumper only has an effect if in the Oasis central unit it is set to neutral response to the detector's address. The jumper also has no effect in combination with UC-8x or AC-8x receivers. If the detector's housing is opened, a sabotage notification is sent.
3 Testing the detector
The operation of the detector can be tested by holding down the test button for, say, 1 second. This activates the siren and the LED will flash. The signal strength and quality can be measured by the central unit in service mode. While testing with the test button, the detector will send signals that cannot cause a fire alarm in the control centre.
Warning: Do not start a fire in a building to test the detector. Instead, use smoke-simulating spray to perform a test.
4 Turn off siren during an alarm
During a fire alarm, the LED will flash and the internal siren will sound. Pressing the test button will turn off the siren, but the LED will continue to flash until the smoke is gone.
5 Alarm memory in the detector
Normally, the detector will alarm until the smoke is gone and the alarm will be kept in the central unit's memory. If desired, the internal memory can be activated by holding down the test button when the battery is inserted. In this mode, the detector will continue to give an alarm until the test button is pressed.
6 Fault indication
The detector will periodically perform a self-test. If an error is registered, the LED will flash rapidly. Remove the battery and replace it after 20 seconds. If after one minute the LED starts flashing again, send the detector for repair.
7 Replacing the battery
The detector monitors the battery voltage. If it becomes too low, the detector will send a signal to the control centre to alert the user or technician. The detector will continue to work and the LED will flash every minute. Battery replacement should not be delayed longer than 2 weeks. Replacement should be done by a certified installer when the central unit is in Service mode.
Do not just throw away empty batteries, follow local rules for disposing of batteries.
8 Removing the detector from the system
If the detector is removed from the system, the central unit will report this. The detector will also have to be removed from the central unit before the detector itself is removed.
